PEX pipes are known for their ease of installation, resistance to corrosion and cost-effectiveness. This has made them a favorite choice for both new construction and renovation. Connecting PEX tubing to a faucet is one of the common plumbing projects. It might seem small, but it’s a critical job.
There are various ways to connect PEX tubing to a faucet; the exact connection method depends on your plumbing setup. For different connection types, you may need various tools. If you are using PEX-A bing, you may need a PEX expansion tool. For other PEX systems, such as PEX-B, you may use crimp or clamp tools instead. Check out PlumbingSell to get the tools and plumbing supplies you need for your project.
In this guide, we’ll help you identify different connection methods, the tools you might need, and how to connect the PEX pipes to a faucet. Follow this guide to learn the simple process and avoid usual mistakes.
What is PEX Piping?
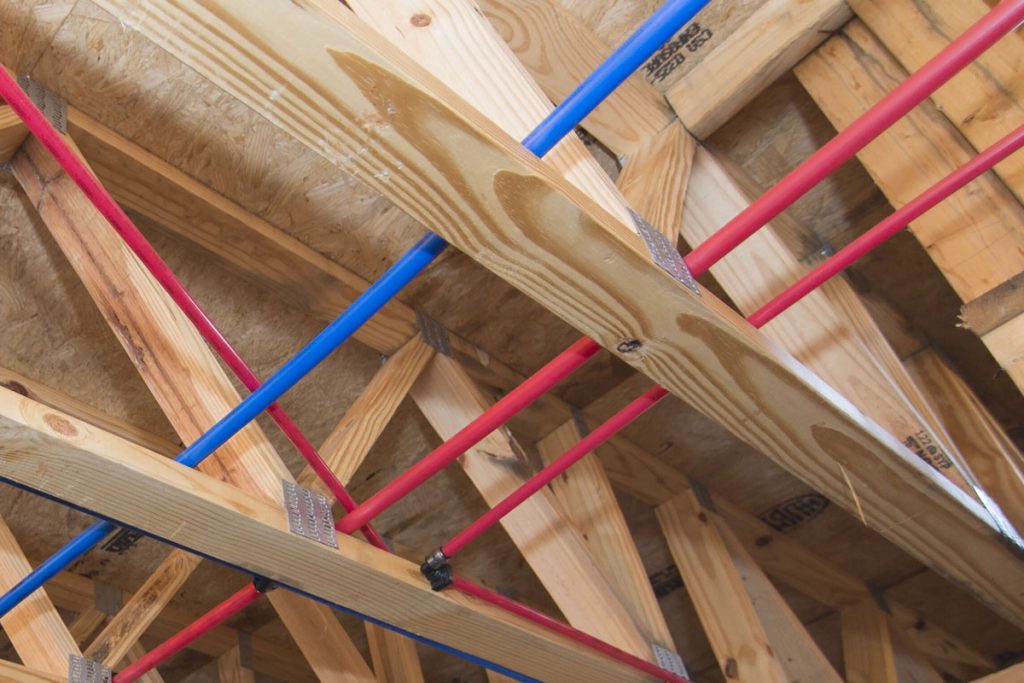
PEX piping, manufactured from cross-linked polyethylene, is a plastic water supply tubing used in both residential and commercial plumbing. As it’s made from plastic, it can bend more easily than copper or CPVC, which makes it easier to install in tight areas, such as under sinks or inside cabinets.
PEX tubing comes in different types, including PEX-A, PEX-B, and PEX-C. If you want to learn more about the difference among these three types, check out here. PEX-A is commonly used with PEX expansion fittings, which require an expansion tool for PEX to enlarge the pipe end before inserting the fitting. For PEX-B and PEX-C pipes, they normally go with crimp rings or stainless steel cinch clamps, depending on the fitting system.
What Tools Are Needed to Connect PEX Tubing to a Faucet?
Using the right tools is essential for a professional, leak-free connection. The tools you need depend on the connection method you choose. At minimum, you will usually need a PEX pipe cutter, measuring tape, marker and the correct fittings for your pipe type. A sharp PEX tubing cutter is crucial, as a clean, square cut is important for preventing fittings from sealing improperly.
Normally, a few specific PEX tools are required as well to connect PEX tubing to a faucet securely. If you are working with PEX-A tubings, you will need a PEX expansion tool and compatible expansion rings and fittings. A manual PEX expansion tool can work for small jobs, but if you are making many connections, a powered expansion tool for PEX can make the process faster and easier.
If you are using crimp-style PEX fittings, you will need copper crimp rings and a PEX crimp tool. As for stainless steel cinch clamps, a clamp tool needs to be prepared. These systems are common for PEX-B tubing and are often used for DIY plumbing repairs.
Fittings That Help Connect PEX Tubing to Faucet Supply Lines
Not all fittings work for the job; the right fitting depends on what you are connecting PEX to. In many faucet installations, the goal is to transition from PEX tubing to a shut-off valve or faucet supply connector. We’ll introduce the most common options below.
Push-Fit Fittings
Push-fit fittings are one of the easiest ways to connect PEX tubing in a faucet supply setup. They do not require specific tools for installation; you just need to ensure the pipe is cut cleanly and pushed into the fitting until it seats securely.
This type of fitting can be especially useful when working under a sink or replacing an old shut-off valve. They are convenient for DIY projects, but they are usually more expensive than standard crimp, clamp or expansion fittings.
Threaded Transition Fittings
Threaded transition fittings are used when you need to connect PEX pipe to a threaded valve, faucet supply connection or plumbing adapter. These fittings normally have a PEX barb or expansion connection on one side and male or female pipe threads on the other.
For faucet installations, threaded transitions are often used with shut-off valves or adapters. When using threaded fittings, it is important to seal the connection part properly. Pipe thread connections usually need thread seal tape or pipe sealant.
Step-by-Step Connection Process
Once you have the right PEX tubing, fitting and tool system, the actual connection process is fairly straightforward.
Step 1: Shut Off the Water Supply
The first step of most plumbing projects is to turn off the water supply before cutting or disconnecting anything. If you are replacing an existing faucet connection, turning off the hot and cold shut-off valves under the sink will work. If there are no separate shut-off valves, turn off the main water supply to the house.
Step 2: Plan the PEX Tubing Route
Before making the connection, make sure you already know how the PEX tubing will run to the faucet area. The tubing should have a clean path without sharp bends, kinks, or unnecessary tension. It is suggested to ensure the shut-off valve is placed in an easily accessible area for future maintenance.
Step 3: Measure and Cut the PEX Tubing
Measure the length of PEX tubing needed for the connection, then cut it with a proper PEX pipe cutter. The cut should be straight, clean, and square. This is especially important for push-fit fittings and PEX expansion fittings.
Step 4: Install the Fitting or Shut-Off Valve
Install the fitting or shut-off valve according to the connection method you are using. For PEX-A pipes, place the expansion ring on the tubing, use the PEX expansion tool to expand the pipe and ring, then quickly insert the expansion fitting before the tubing contracts. For a crimp or clamp connection, slide the ring over the pipe, insert the fitting fully and compress the ring with a PEX crimp tool or PEX clamp tool accordingly.
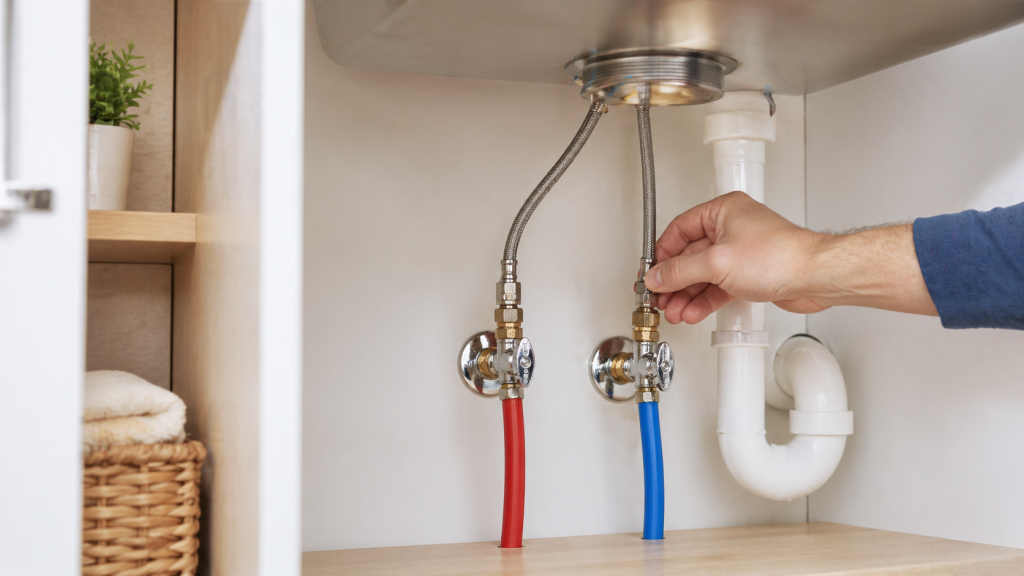
Step 5: Attach the Faucet Supply Line
Once the PEX side is connected, the next step is to attach the faucet supply line. In most faucet installations, this means connecting a braided supply hose from the shut-off valve to the faucet inlet. Tighten the connection by hand first, then use a wrench to snug it slightly without overtightening.
Step 6: Turn the Water Back On and Check for Leaks
After completing the steps above, slowly turn the water supply back on and inspect every connection point. You can use a dry paper towel around each joint to spot small leaks. If you notice any moisture, turn the water off again and fix the connection before using the faucet normally.
Conclusion
Connecting PEX tubing to a faucet is easier when you understand how the PEX line and faucet body are connected. Once you have the right tubing, fitting and tool system, the process becomes much easier for both DIY repairs and professional installations.
For both homeowners and contractors, having the right parts and tools on hand makes the job much smoother and faster. Whether you need PEX tubing, PEX fittings, a PEX expansion tool, shut-off valves, faucet supply lines or installation tools and accessories, PlumbingSell offers reliable plumbing supplies to help you complete your next project with confidence.